Making your own vanilla extract is one of those kitchen projects that feels ambitious but is actually straightforward. The result? A deeply aromatic, complex extract that makes store-bought versions taste thin and artificial by comparison.
Here's everything you need to know to get it right the first time.
What You'll Need
Vanilla beans: Plan on 5–6 beans per cup of alcohol. Grade B (extract-grade) beans work perfectly — they're less pretty than Grade A but just as flavorful and cost less. (Not sure what the grades actually mean? Our Grade A vs Grade B vanilla beans guide explains the difference clearly.)
→ Shop Grade B Madagascar beans on Amazon
Alcohol: Vodka is the classic choice. Use 70-proof (35% ABV) at minimum — 80-proof is ideal. The alcohol extracts the flavor compounds and acts as a preservative. See our guide to the best vodka for vanilla extract for the specific brands that work best.
→ Shop vodka for vanilla extract on Amazon
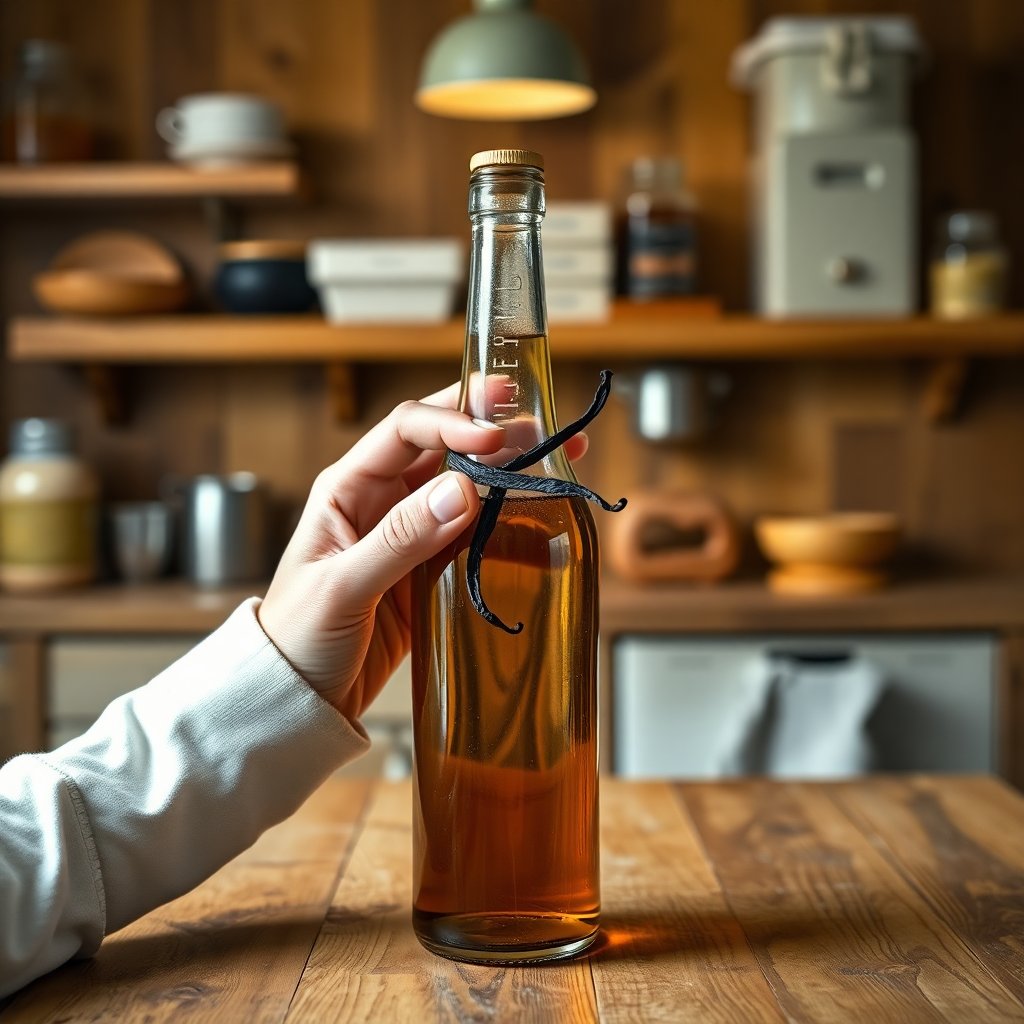
A glass jar: A clean mason jar or swing-top bottle works great. You want something you can seal airtight. A set of glass bottles made for extract makes gifting a lot easier too.
→ Shop glass extract bottles on Amazon
Equipment:
- Sharp paring knife and cutting board
- Measuring cup
- Small funnel (helpful but not required)
- Label and pen (so you know when you started)
Step 1: Split Your Beans
Using a sharp knife, slice each vanilla bean lengthwise down the middle — but don't cut all the way through. You want to open it up so the seeds (the black caviar inside) are exposed to the alcohol. This dramatically speeds up extraction.
You can also scrape the seeds directly into your jar before adding the bean pods. Some makers do both — scrape the seeds in AND add the split pods. This maximizes extraction and produces a richer extract faster.
Why this matters: The vanilla flavor compounds are concentrated in the seeds (the tiny black specks) and in the pod walls. Splitting exposes both. Whole (unsplit) beans extract much more slowly and less completely.
Step 2: Add Beans to Jar
Place your split beans into the jar. For a standard cup (8 oz) of vodka, you want 5–6 beans. Scale up or down proportionally if you're making more.
For a comprehensive table of ratios for different batch sizes, see our how many vanilla beans per cup of vodka guide.
→ Shop Grade A vanilla beans for premium batches on Amazon
Madagascar Grade A or Grade B beans are the most popular choice and produce a sweet, rich, classic vanilla flavor. Tahitian beans give a more floral, fruity result if you want something different.
Step 3: Pour in Your Vodka
Fill the jar with vodka, making sure all the beans are submerged. Seal it tight.
Tips for this step:
- If a bean is too long for your jar, don't fold it — cut it in half. Bent or folded beans don't extract as efficiently.
- Make sure there's no air space above the liquid if possible, or minimize it. Less air means slower oxidation.
- Date the jar right now, before you forget when you started.
Step 4: Store and Wait
This is the hard part: vanilla extract takes time.
- Minimum: 8 weeks for a usable extract
- Better: 3–4 months
- Best: 6+ months for a truly deep, complex flavor
Store the jar in a cool, dark place — a pantry or cabinet works fine. Shake it gently once a week to help the extraction along. The shaking distributes the dissolved compounds and helps prevent any settling.
What you'll see: The liquid starts clear and gradually turns pale golden, then amber, then rich dark brown. The color is a reliable indicator of development — the darker it gets, the more flavor has been extracted.
Step 5: Strain and Bottle (Optional)
Once your extract has reached the flavor you like, you can strain out the beans and transfer to smaller bottles. Or leave the beans in — they'll continue to contribute flavor over time.
When to strain:
- If you're gifting the extract (beans in small bottles can be inconvenient)
- If you prefer a clearer extract without floating seeds
- If you've been topping off the jar for 12+ months and the beans look exhausted (pale, soft, flavorless)
When to leave beans in:
- If you're using the extract yourself from a single large jar
- If you want the beans to keep contributing flavor over time
- If you like seeing the vanilla specks in the bottle
Tips for Great Vanilla Extract
Use more beans, not fewer. The beans are the point. Don't try to stretch them. Exactly how many beans per cup matters — our how many vanilla beans per cup of vodka guide runs the precise ratios for different batch sizes.
Don't rush it. Extract made at 8 weeks is good. At 6 months it's noticeably better. If you start a batch now and forget about it, that's actually ideal.
Make a big batch. Once you've made it once, make more. It keeps indefinitely and makes an incredible homemade gift.
Top off as you use it. Add fresh vodka as the bottle empties — the beans still have plenty of flavor to give.
Try alternative spirits. Once you've made a standard vodka batch, experiment. Bourbon vanilla extract is exceptional in cookies; dark rum extract is rich and complex for chocolate recipes.
Timeline Visual Guide
| Timeframe | Color | Smell | Flavor | |---|---|---|---| | Week 1–2 | Pale gold | Mostly alcohol | Not usable | | Week 4–6 | Amber | Sweet vanilla | Thin, usable in a pinch | | Week 8–12 | Rich amber | True vanilla | Good, meets FDA standard | | Month 3–4 | Deep amber | Complex, warm | Very good | | Month 6+ | Dark brown | Rich, deep | Excellent — better than store-bought |
The Gifting Angle
Homemade vanilla extract is one of the most received gifts you can make. Here's how to gift it well:
- Use the 16 oz (2 cup) batch — it makes 4 nice little 4-oz bottles
- Add a fresh bean to each gift bottle before sealing
- Add a handwritten label with the date started and a note: "Best after [date 3 months from bottling]"
- Wrap in a small gift bag with a tag
The gift of homemade extract says: I planned ahead, I put in time, and I made something real. It lands well.
→ Shop 4-oz amber glass bottles on Amazon
What to Expect
Your extract will start out pale and gradually deepen to a rich amber-brown. The smell evolves from harsh and boozy to warm and genuinely vanilla-forward. Around the 6-week mark you'll notice the first real vanilla character. By 3 months, it's legitimately good. By 6 months, it's something special.
The difference in your baking will be noticeable — especially in anything where vanilla plays a lead role: sugar cookies, vanilla cake, pastry cream, custard, or ice cream.
FAQ
Can I speed up the extraction process? Slightly. You can steep in a warm (not hot) dark location. A gently warm pantry will extract faster than a cool cellar. Some people use a sous vide bath at 135°F for 24–48 hours — this produces a usable extract very quickly, though the flavor lacks the full complexity of months of cold-steeping. We don't recommend shortcuts for your primary batch.
What if I don't drink alcohol? Can I still make vanilla extract? Yes — vegetable glycerin works as an alcohol-free solvent. The extraction process takes longer and the flavor profile is slightly different (sweeter), but it works. Glycerin-based "vanilla flavor" is different from "pure vanilla extract" by FDA standards.
Can I use other vanilla bean varieties? Absolutely. Madagascar is the classic, but Tahitian beans produce a floral, fruity extract. Mexican beans add a spicy character. Indonesian beans are earthier and stronger. Try a mixed batch for a complex, layered result.
How do I know when my extract is "done"? The honest answer: it's never fully done — it keeps improving. But 8 weeks is the practical minimum for a genuinely useful extract. At that point, taste it — if it has clear vanilla character and isn't dominated by alcohol, it's ready to use.
Is it cheaper to make vanilla extract than buy it? Yes, significantly — especially if you buy beans in bulk and use Grade B. A 1-pound bag of Grade B beans produces roughly 15–20 cups of extract. Compare that to the price of 15–20 cups of Nielsen-Massey. The economics become very favorable at scale.
This post contains affiliate links. We only recommend products we've actually used.